DropArt
What is Dropart Kit?
DropArt kit is an advanced electronics kit for photography that allows you to capture stunning high-speed water drop collisions. Liquid drop collisions are really amazing, but they happen so fast that it is practically impossible to capture perfect shots without the use of an electronic device.
DropArt kit is a simple, elegant and modern device that will help you take these amazing photographs.
Why did I make it?
This was a hobby project. I am passionate about photography and I had been trying to do some creative photography since long. Back in 2012, I came across some photographs of amazing water drop collisions. It instantly attracted me and I started researching on how can I create these beautiful images.
After a lot of research online, I figured that it was not possible to create these images without the use of an electronic device. But all the kits that were available were really expensive (upwards of $300).
I observed that most of the kits currently available in the market are very complex to use and have a lot of cable clutter. Most of them still rely on analog knobs and dot matrix LCD screens which makes them difficult to use. This additional use of hardware also makes them bulky and expensive.
I started thinking, can I create this myself? Back in 2012, I had no experience with microcontrollers and electronics, so I gave up the idea. Then in 2014, after I moved to Palo Alto, I met a colleague - Ray. He is really good with electronics. At the same time, I was working on UX for IoT related projects at work too. I thought this is the perfect time to experiment and realize the dream that I have been harboring for long.
Thus began the quest to create an affordable, advanced and easy to use water drop photography kit. I started off by understanding how to trigger a solenoid valve. We had a lightblue bean lying around with me. So we quickly ordered a valve and connected it to lightblue bean and wrote a small Arduino code to turn the valve on and off. The following video was our first successful test of the valve:
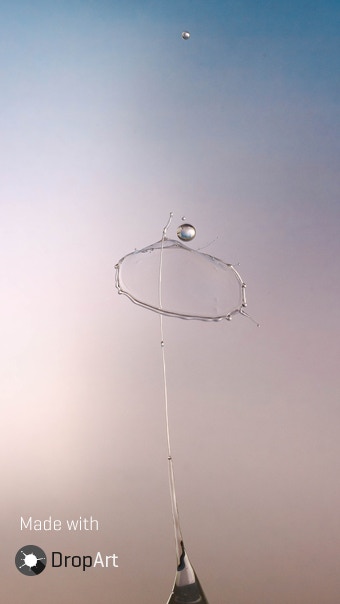
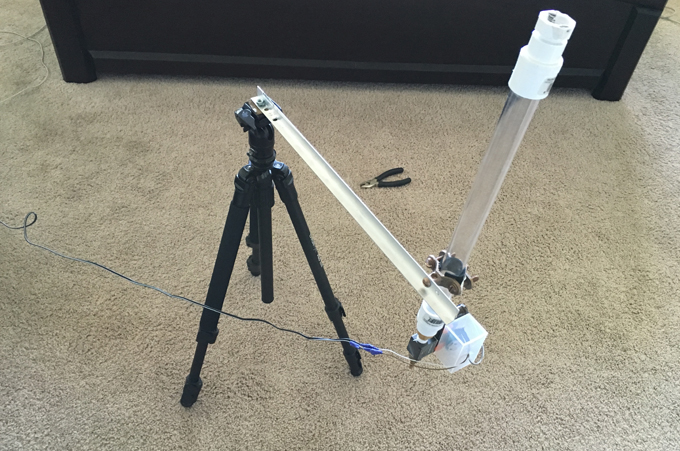
Once we had the valve working, we create a small iOS app to send a signal to the lightblue bean and control the size and gap between two drops of water. This gave us control over how big and how far apart the two water drops we want to generate. After a few trial and errors, we got our first water crown (picture below). Also shown is the physical setup of the kit. At this stage, we also added a trigger control for the camera flash which was getting controlled via the lightblue bean. So far we had not connected the DSLR camera to the kit. The camera was still being operated manually.


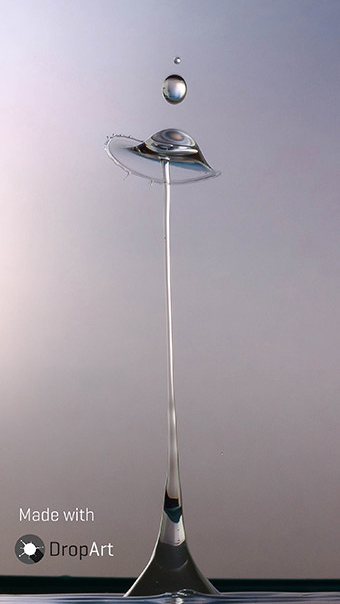
Happy with our initial small success, we continued experimenting different settings on the app and kept on clicking more pictures. Then we were able to narrow down the settings from which we were able to get this beautiful umbrella collision.
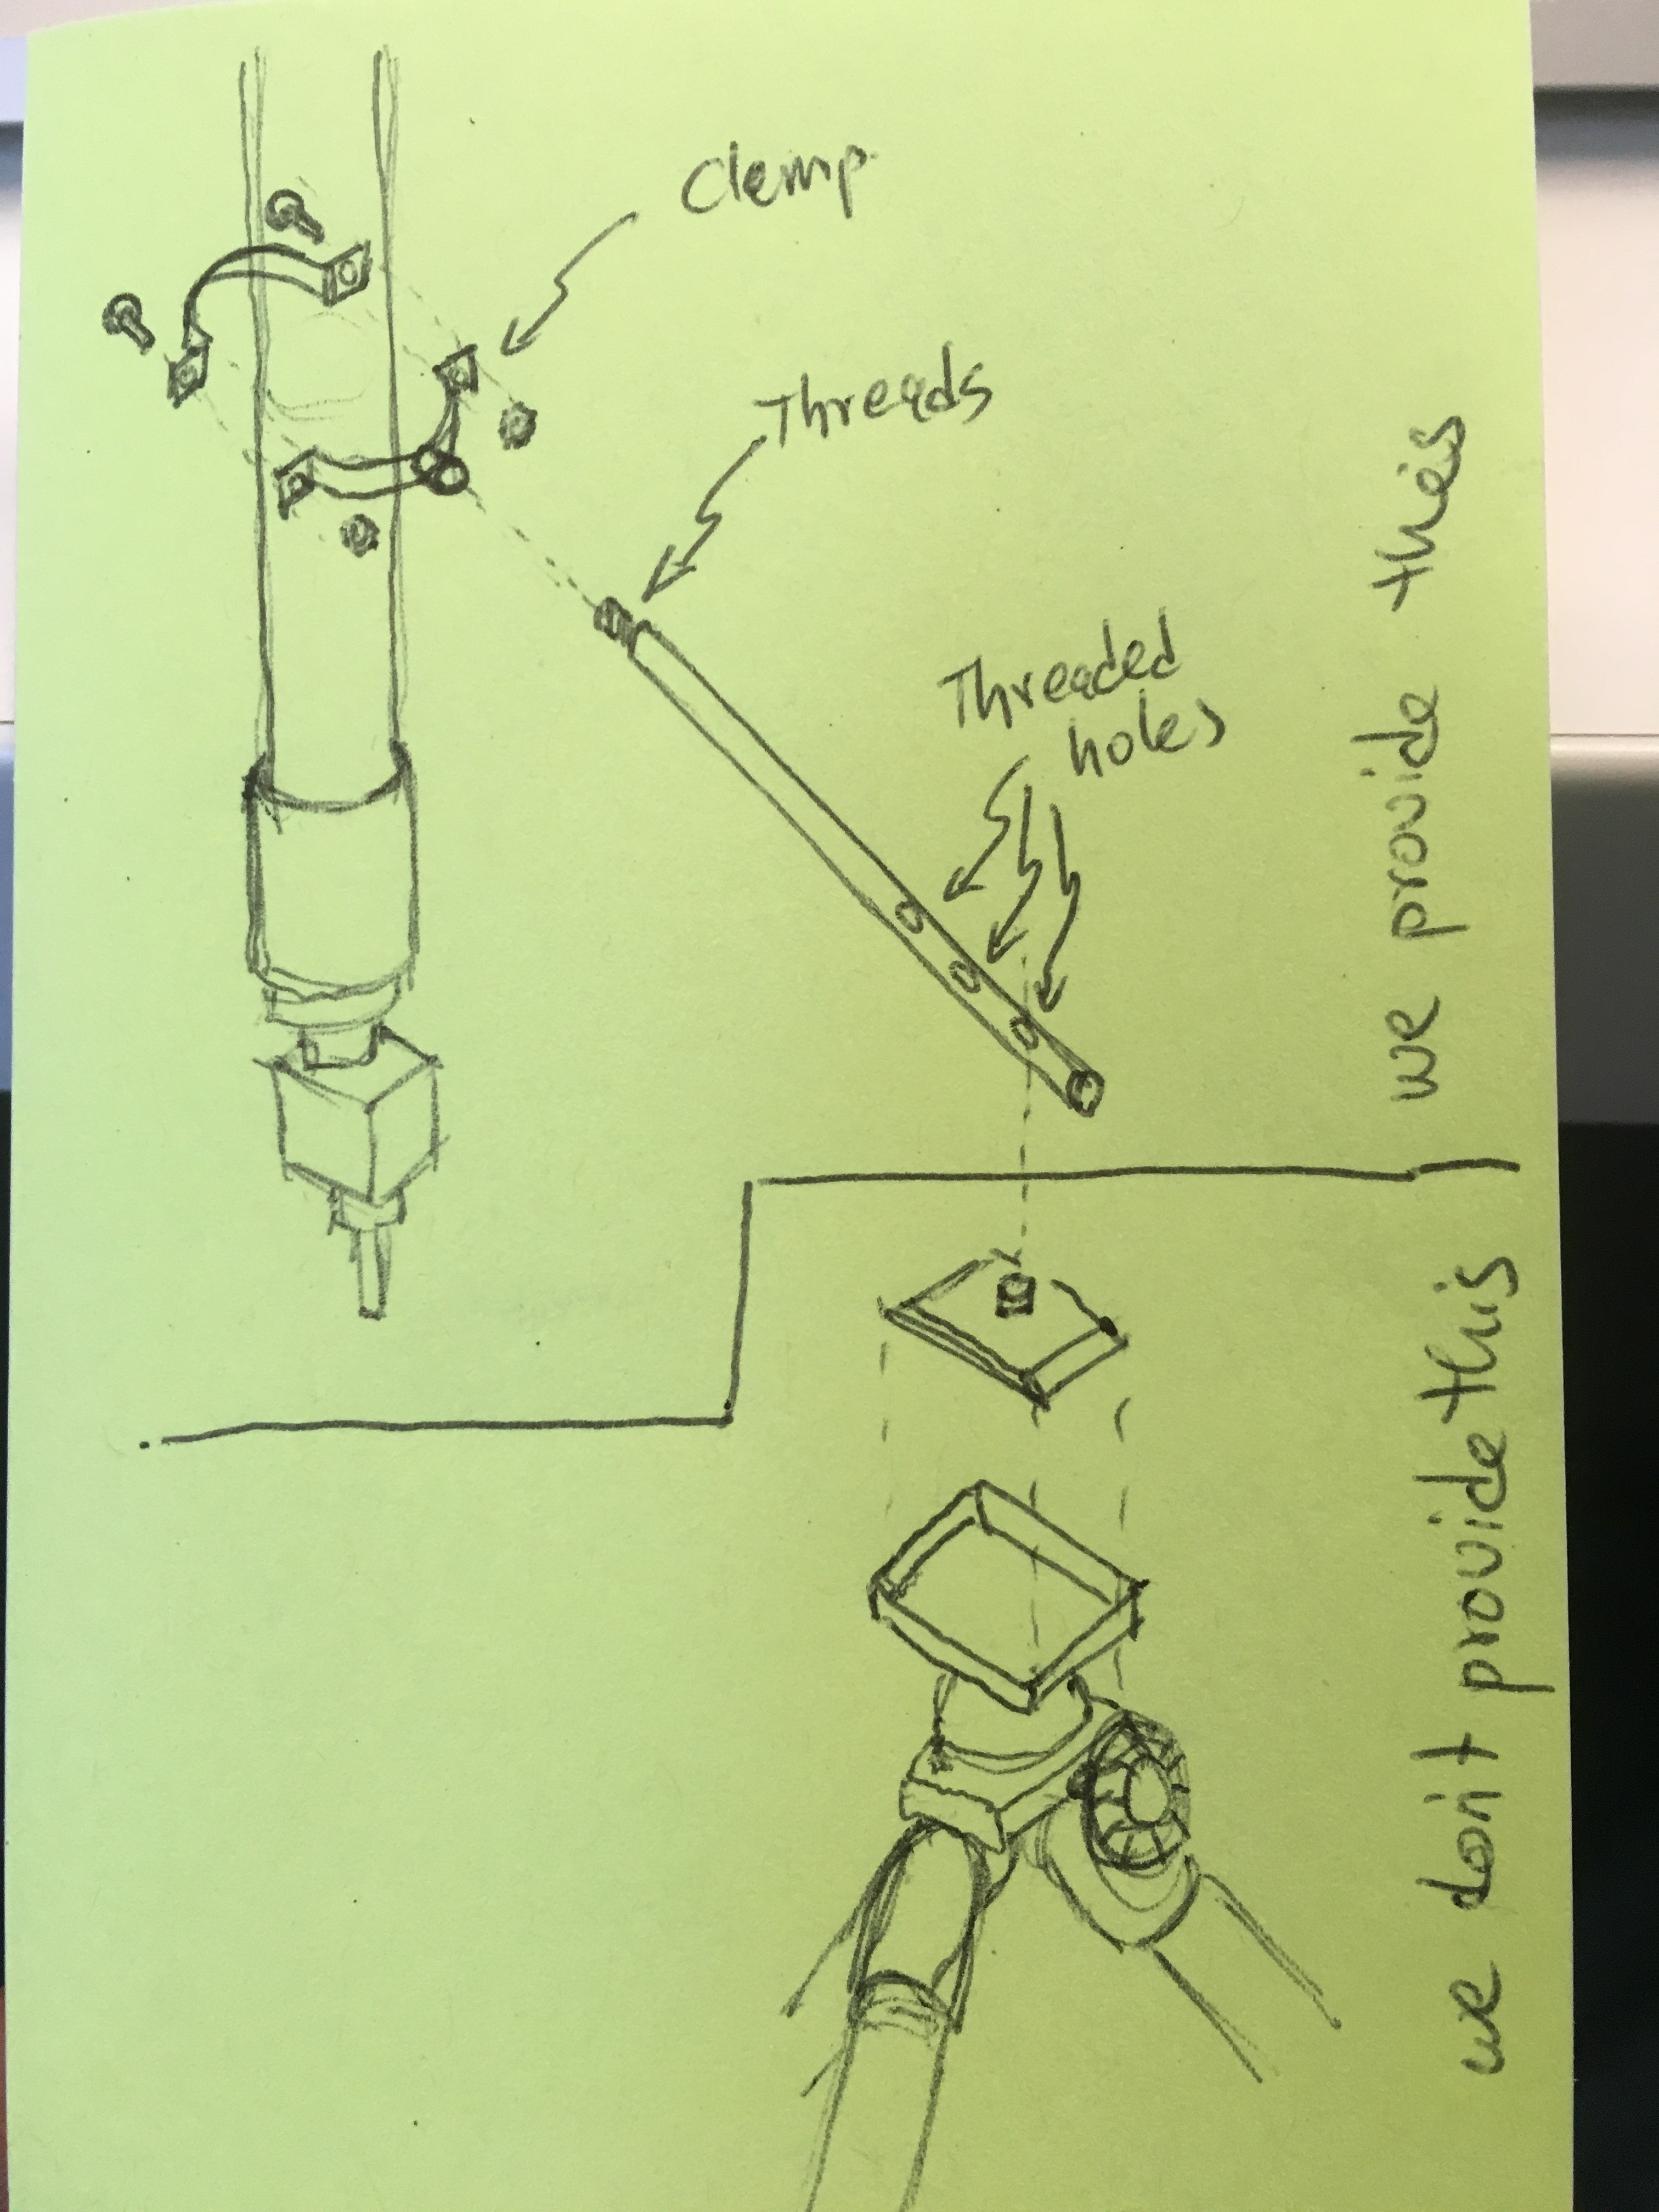
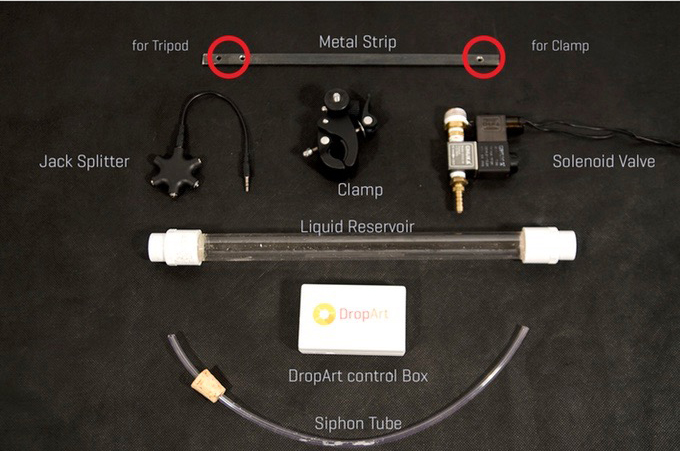
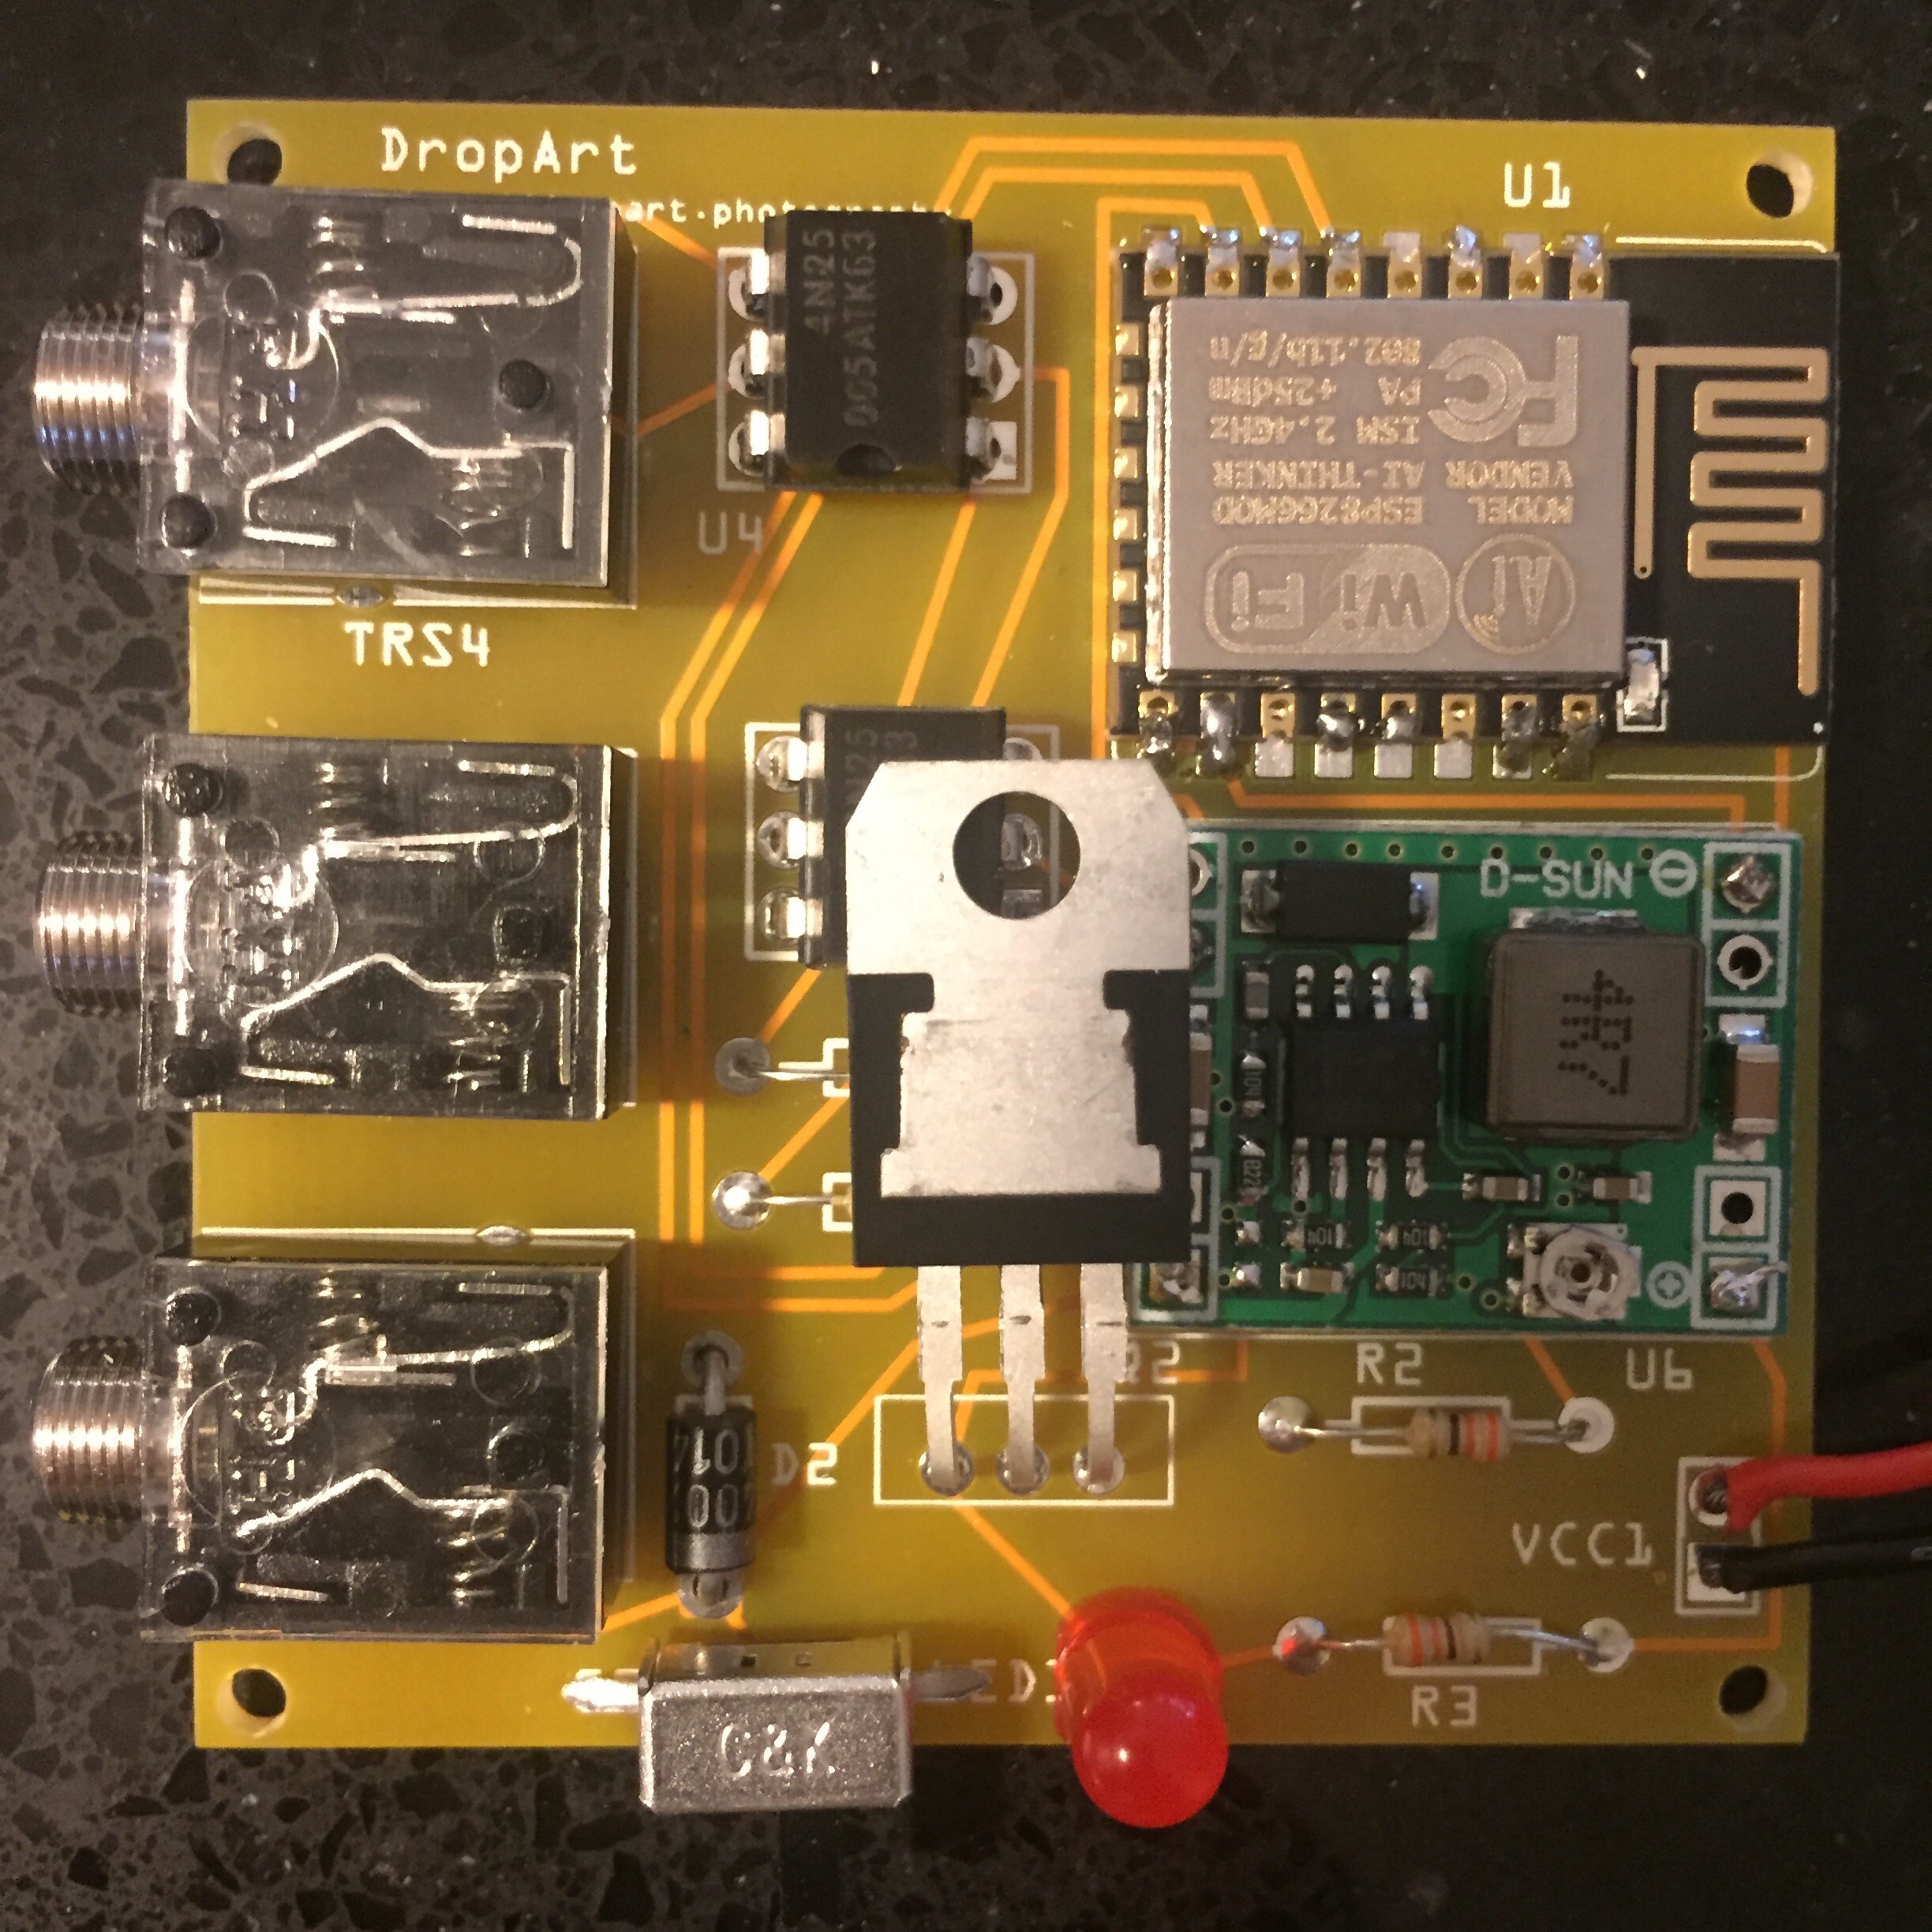
Hardware Assembly
Now that we had a working prototype, we started thinking of the entire hardware assembly system. We did a few sketches to visualize how the whole system will work. We also created a small housing for the electronics. Designed the siphon system, clamping, and bracket etc.
Showtime
Maker Faire 2016 was coming up, and we were all too excited to show our creation to the world. With the help of CuperTinker meetup group, we were able to get a spot at the fair and got a nice place to set up our demo.
Here is a video of the kit in action at the Maker Faire. The clip shows a slow motion capture of how the two water drops collide and at the time of the collision, the flash is triggered and a photograph is captured.
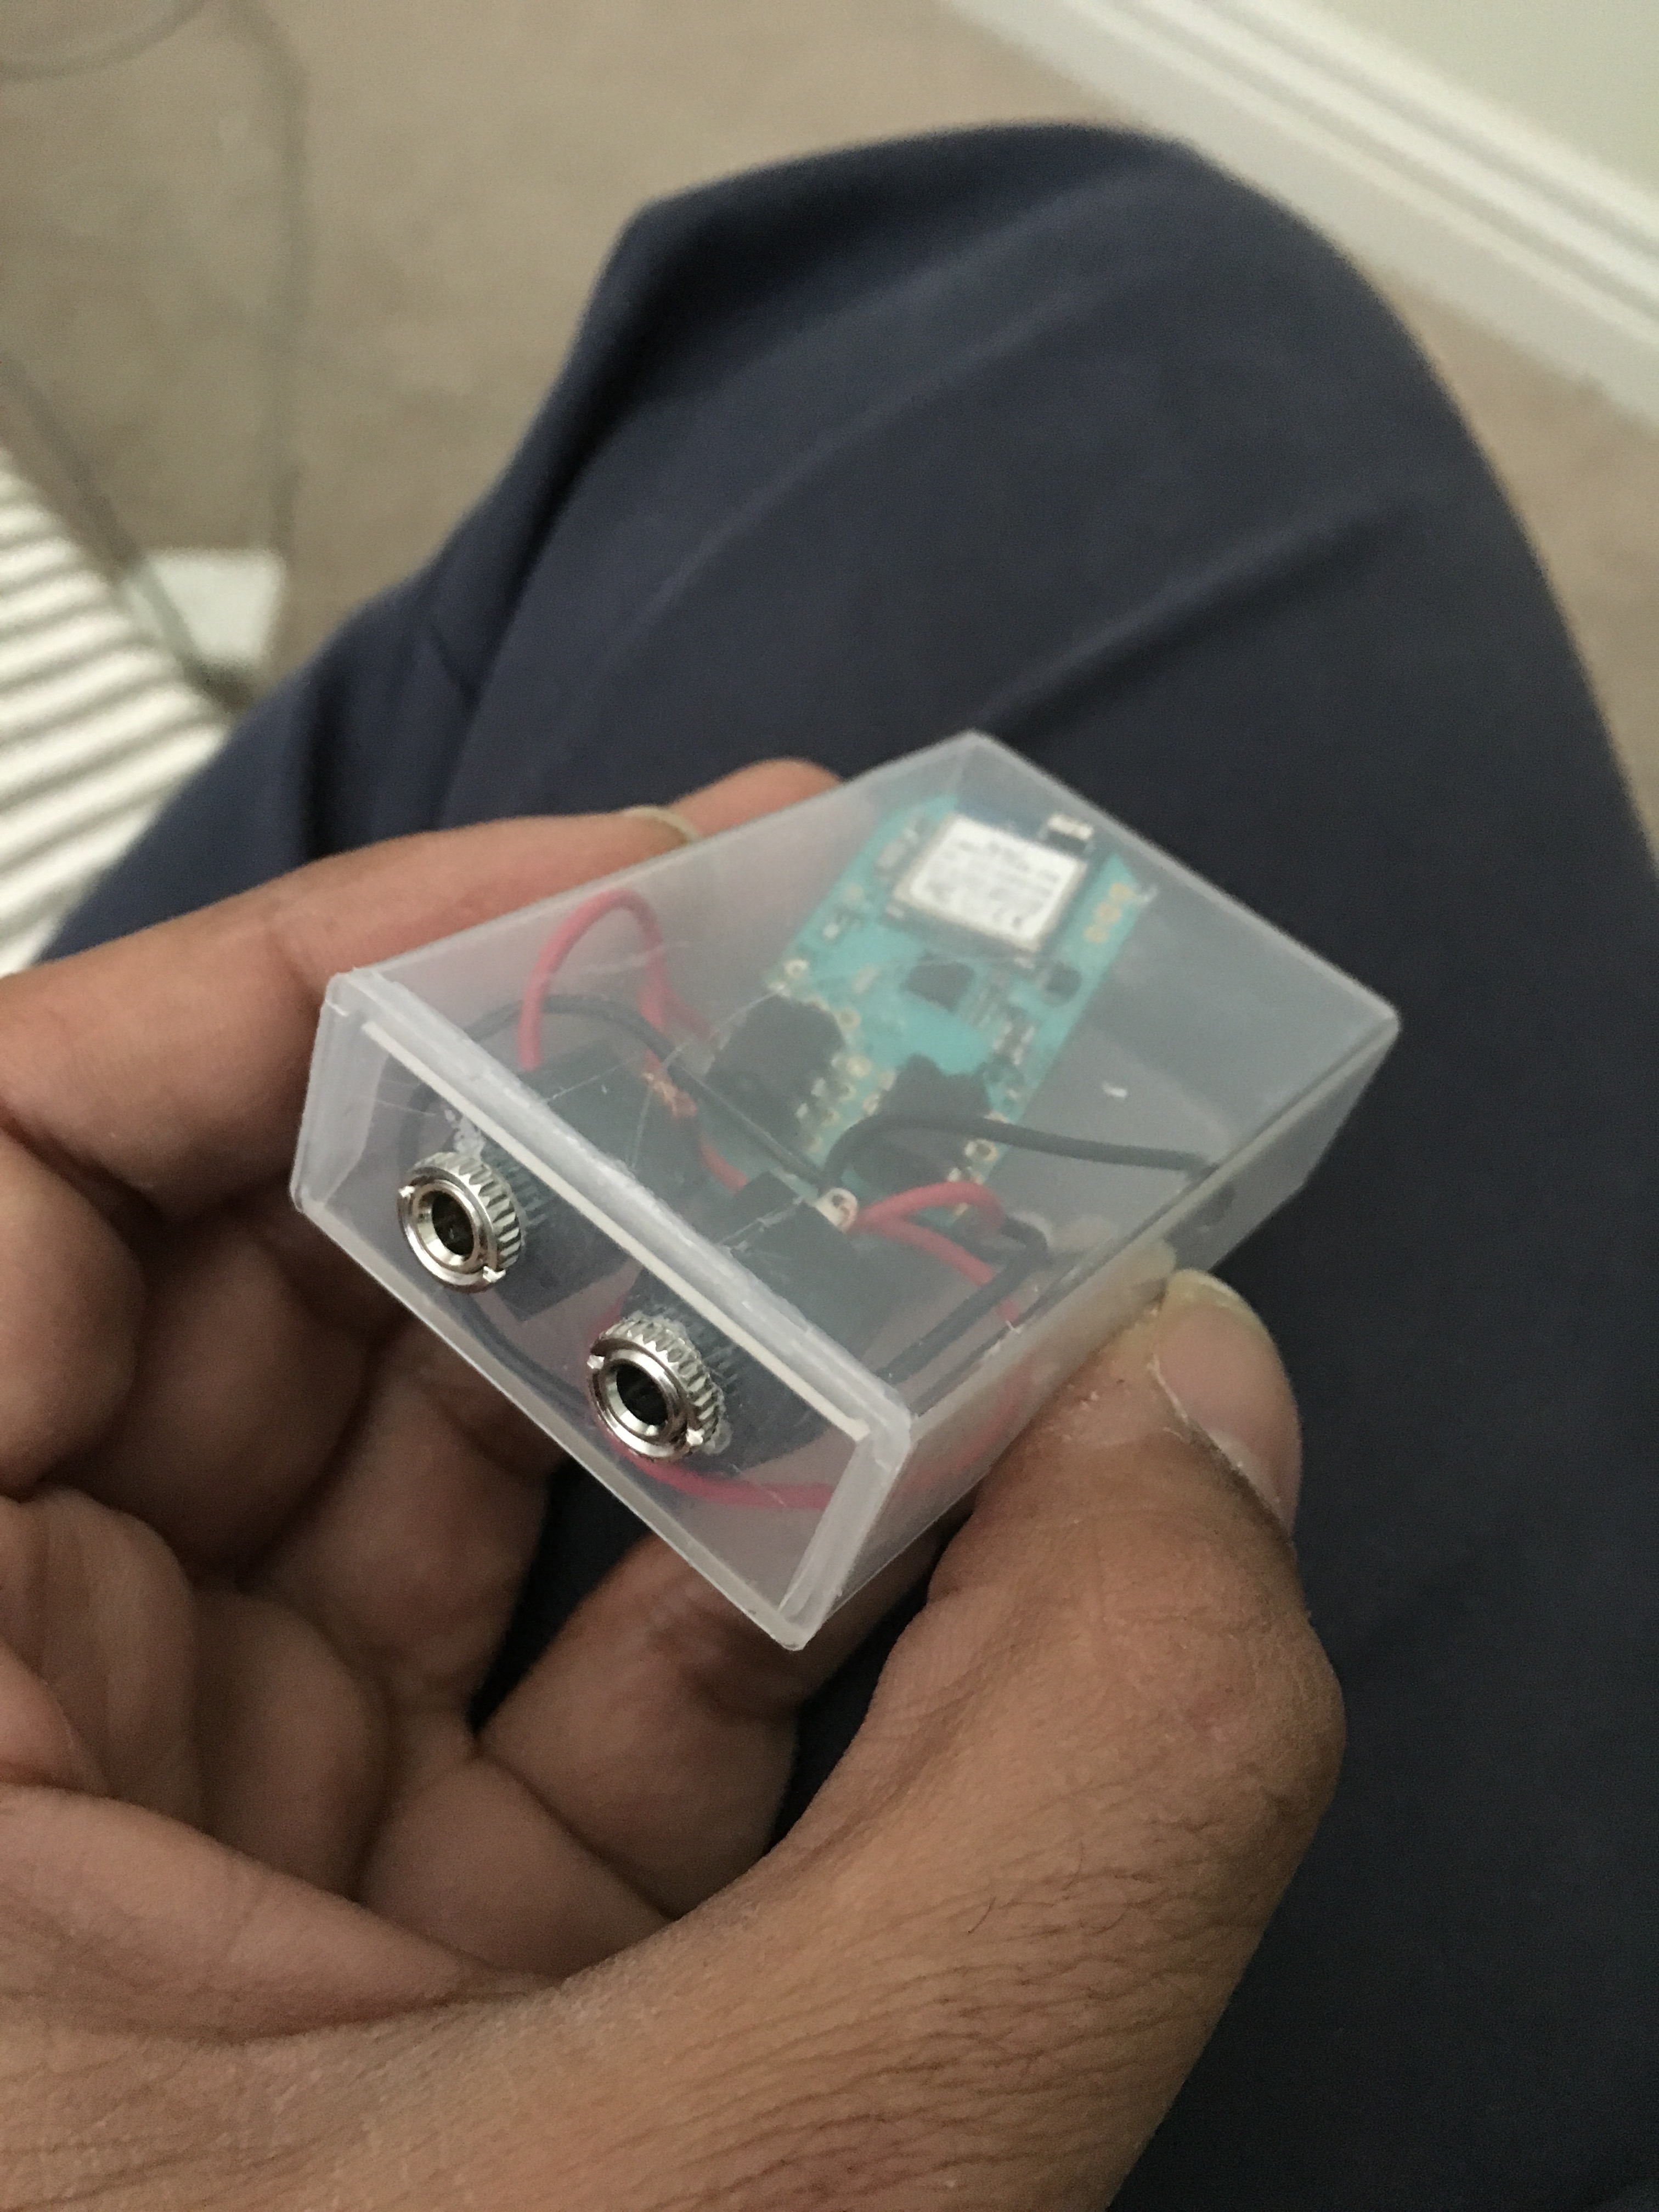
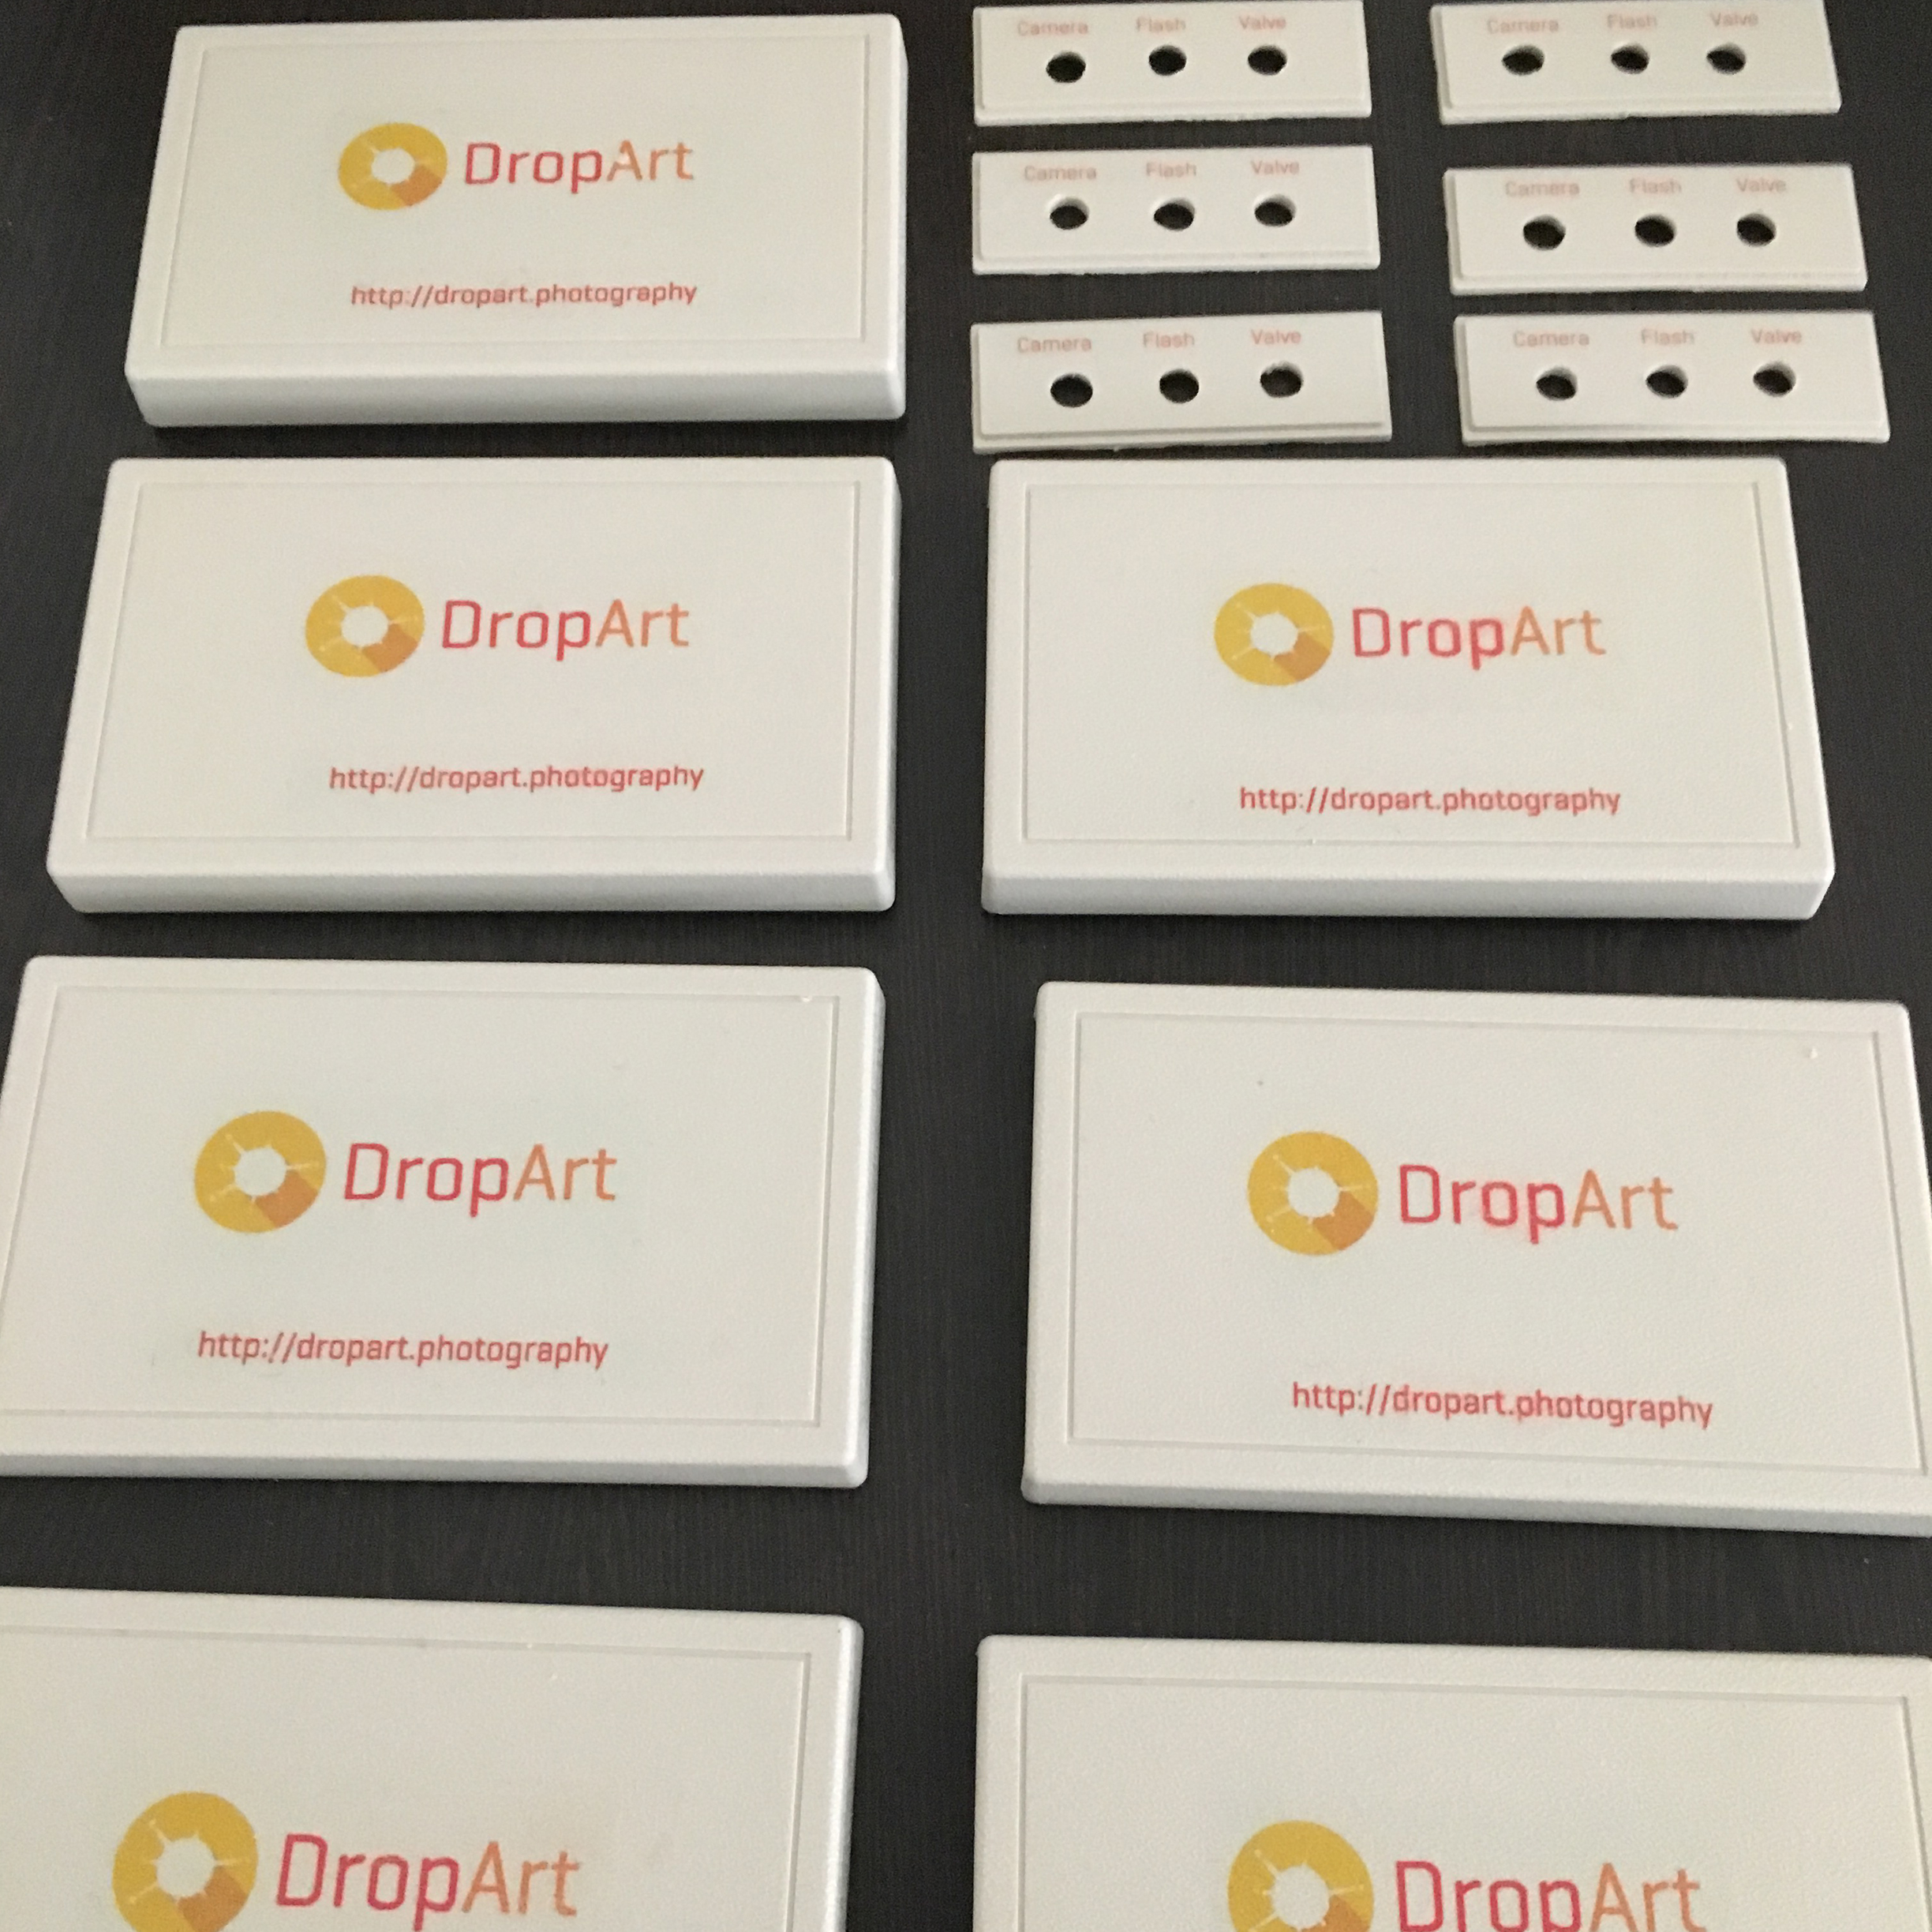
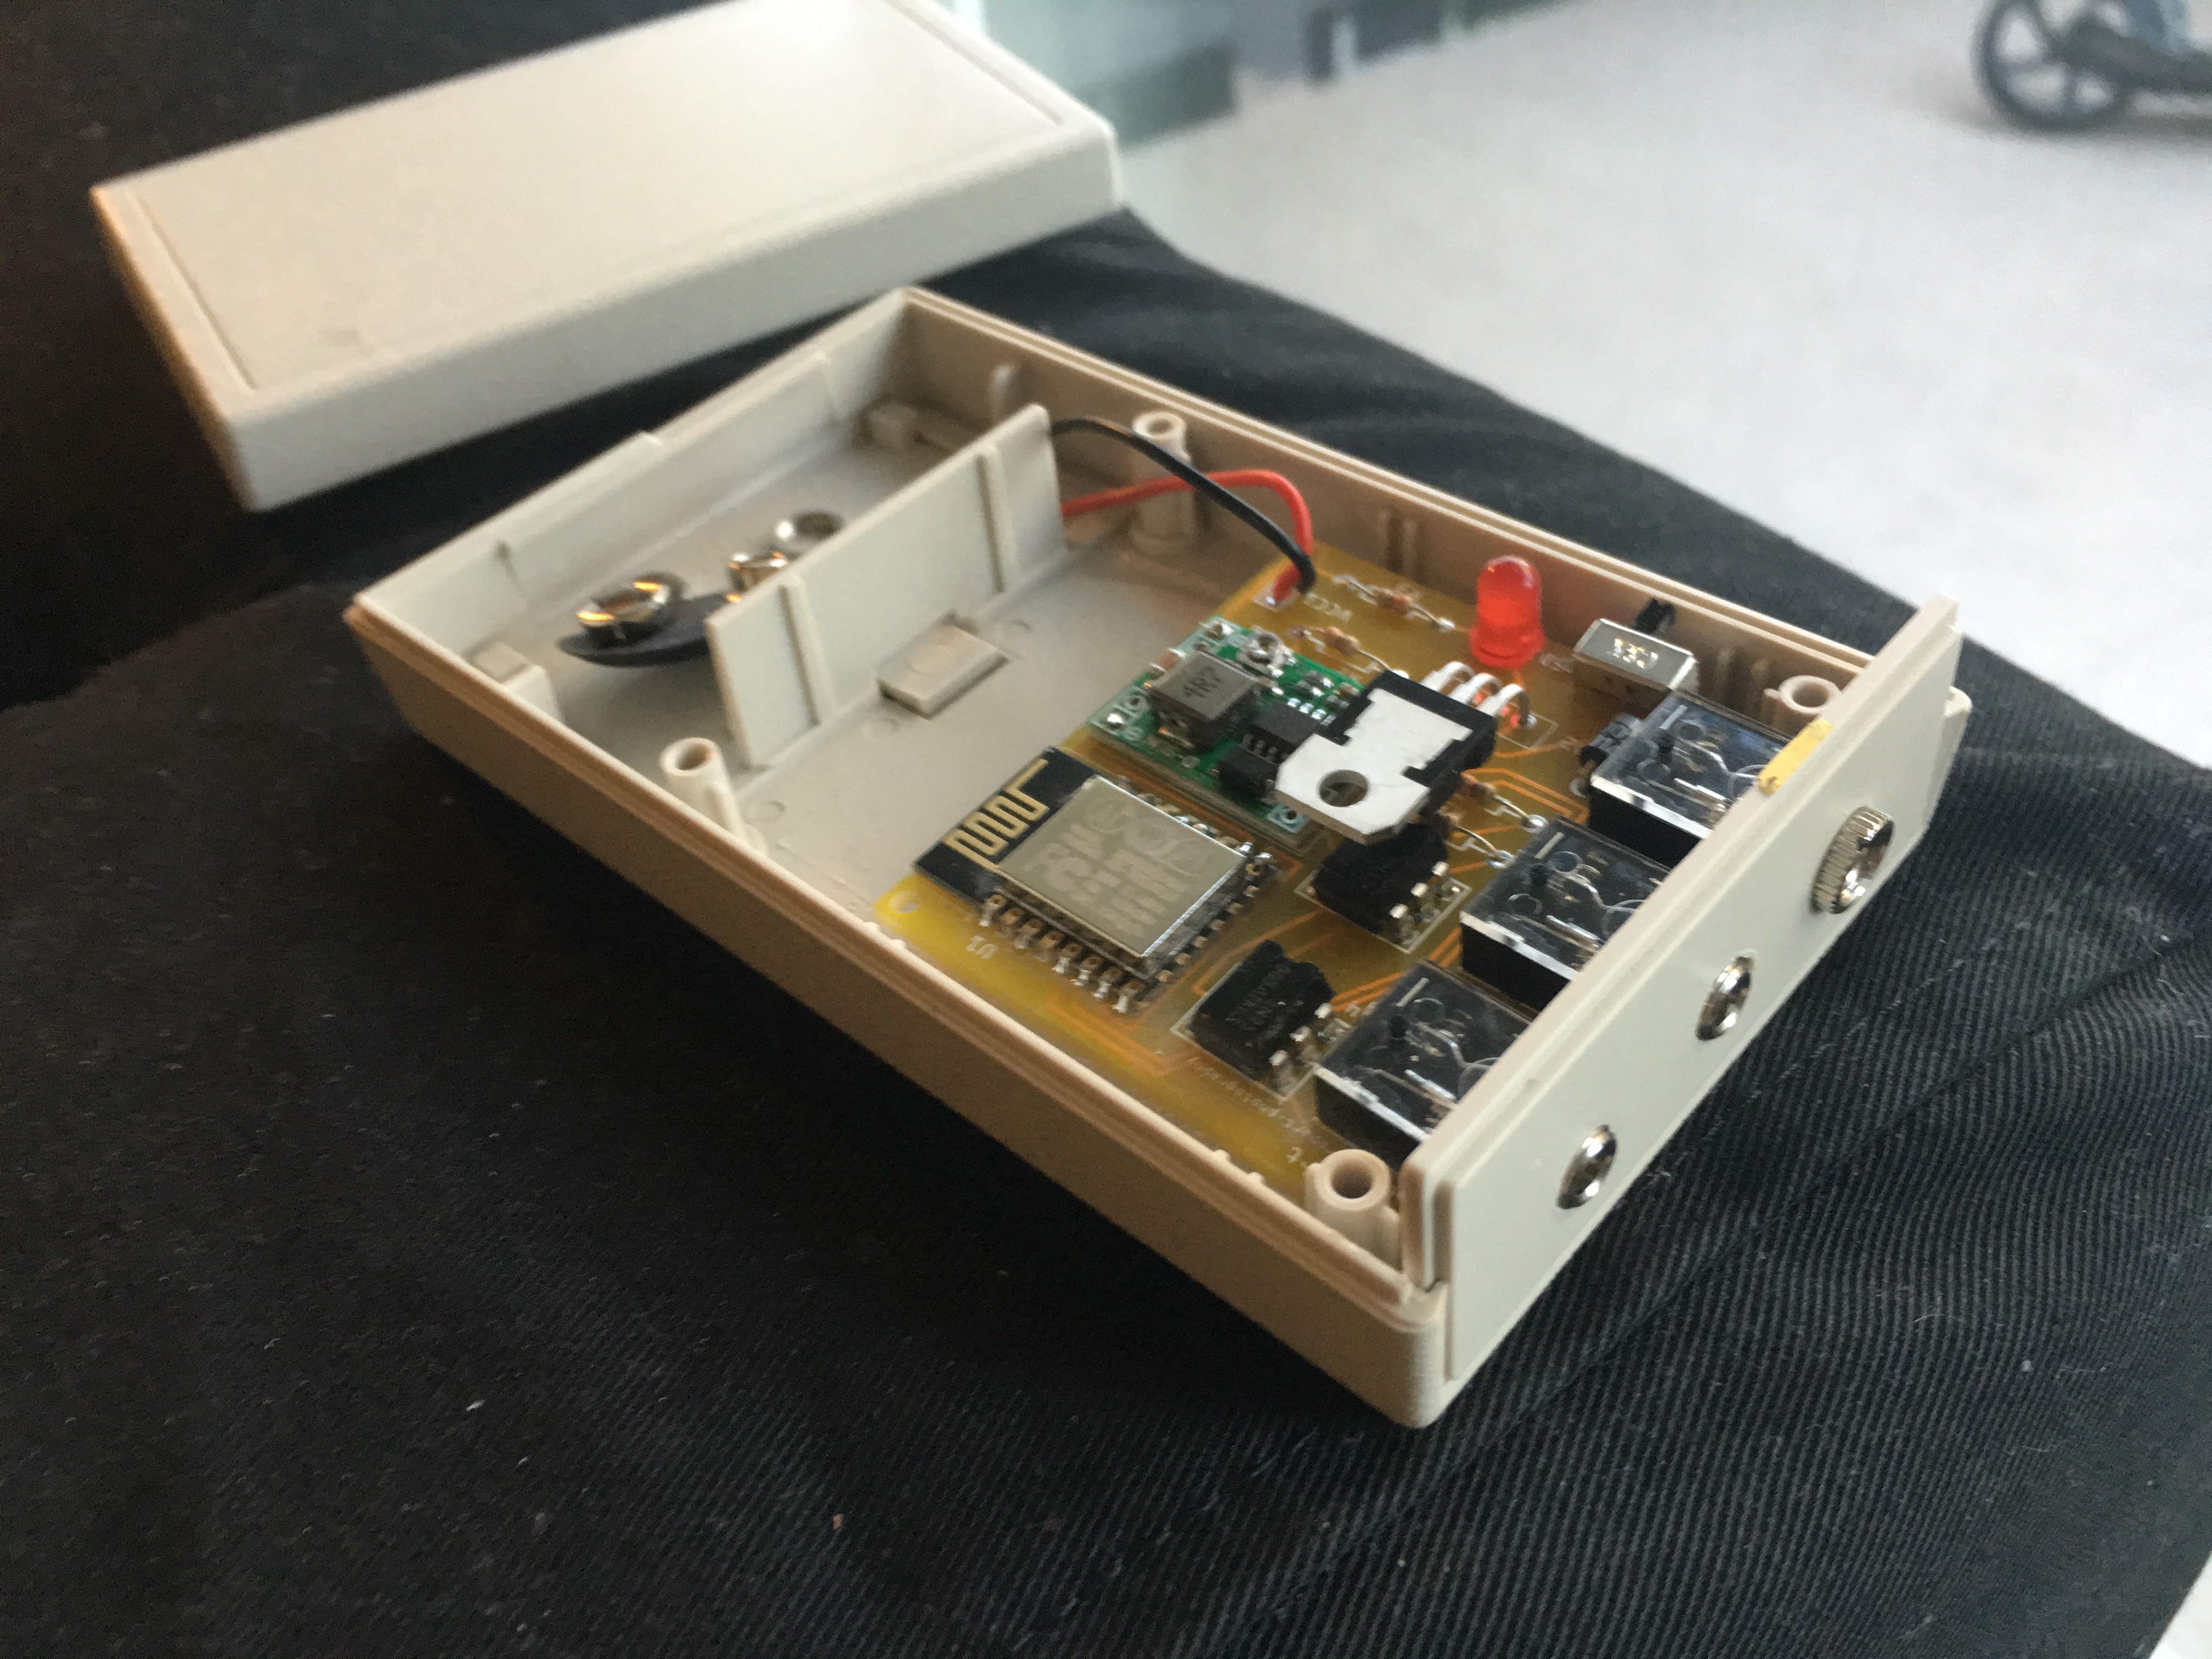
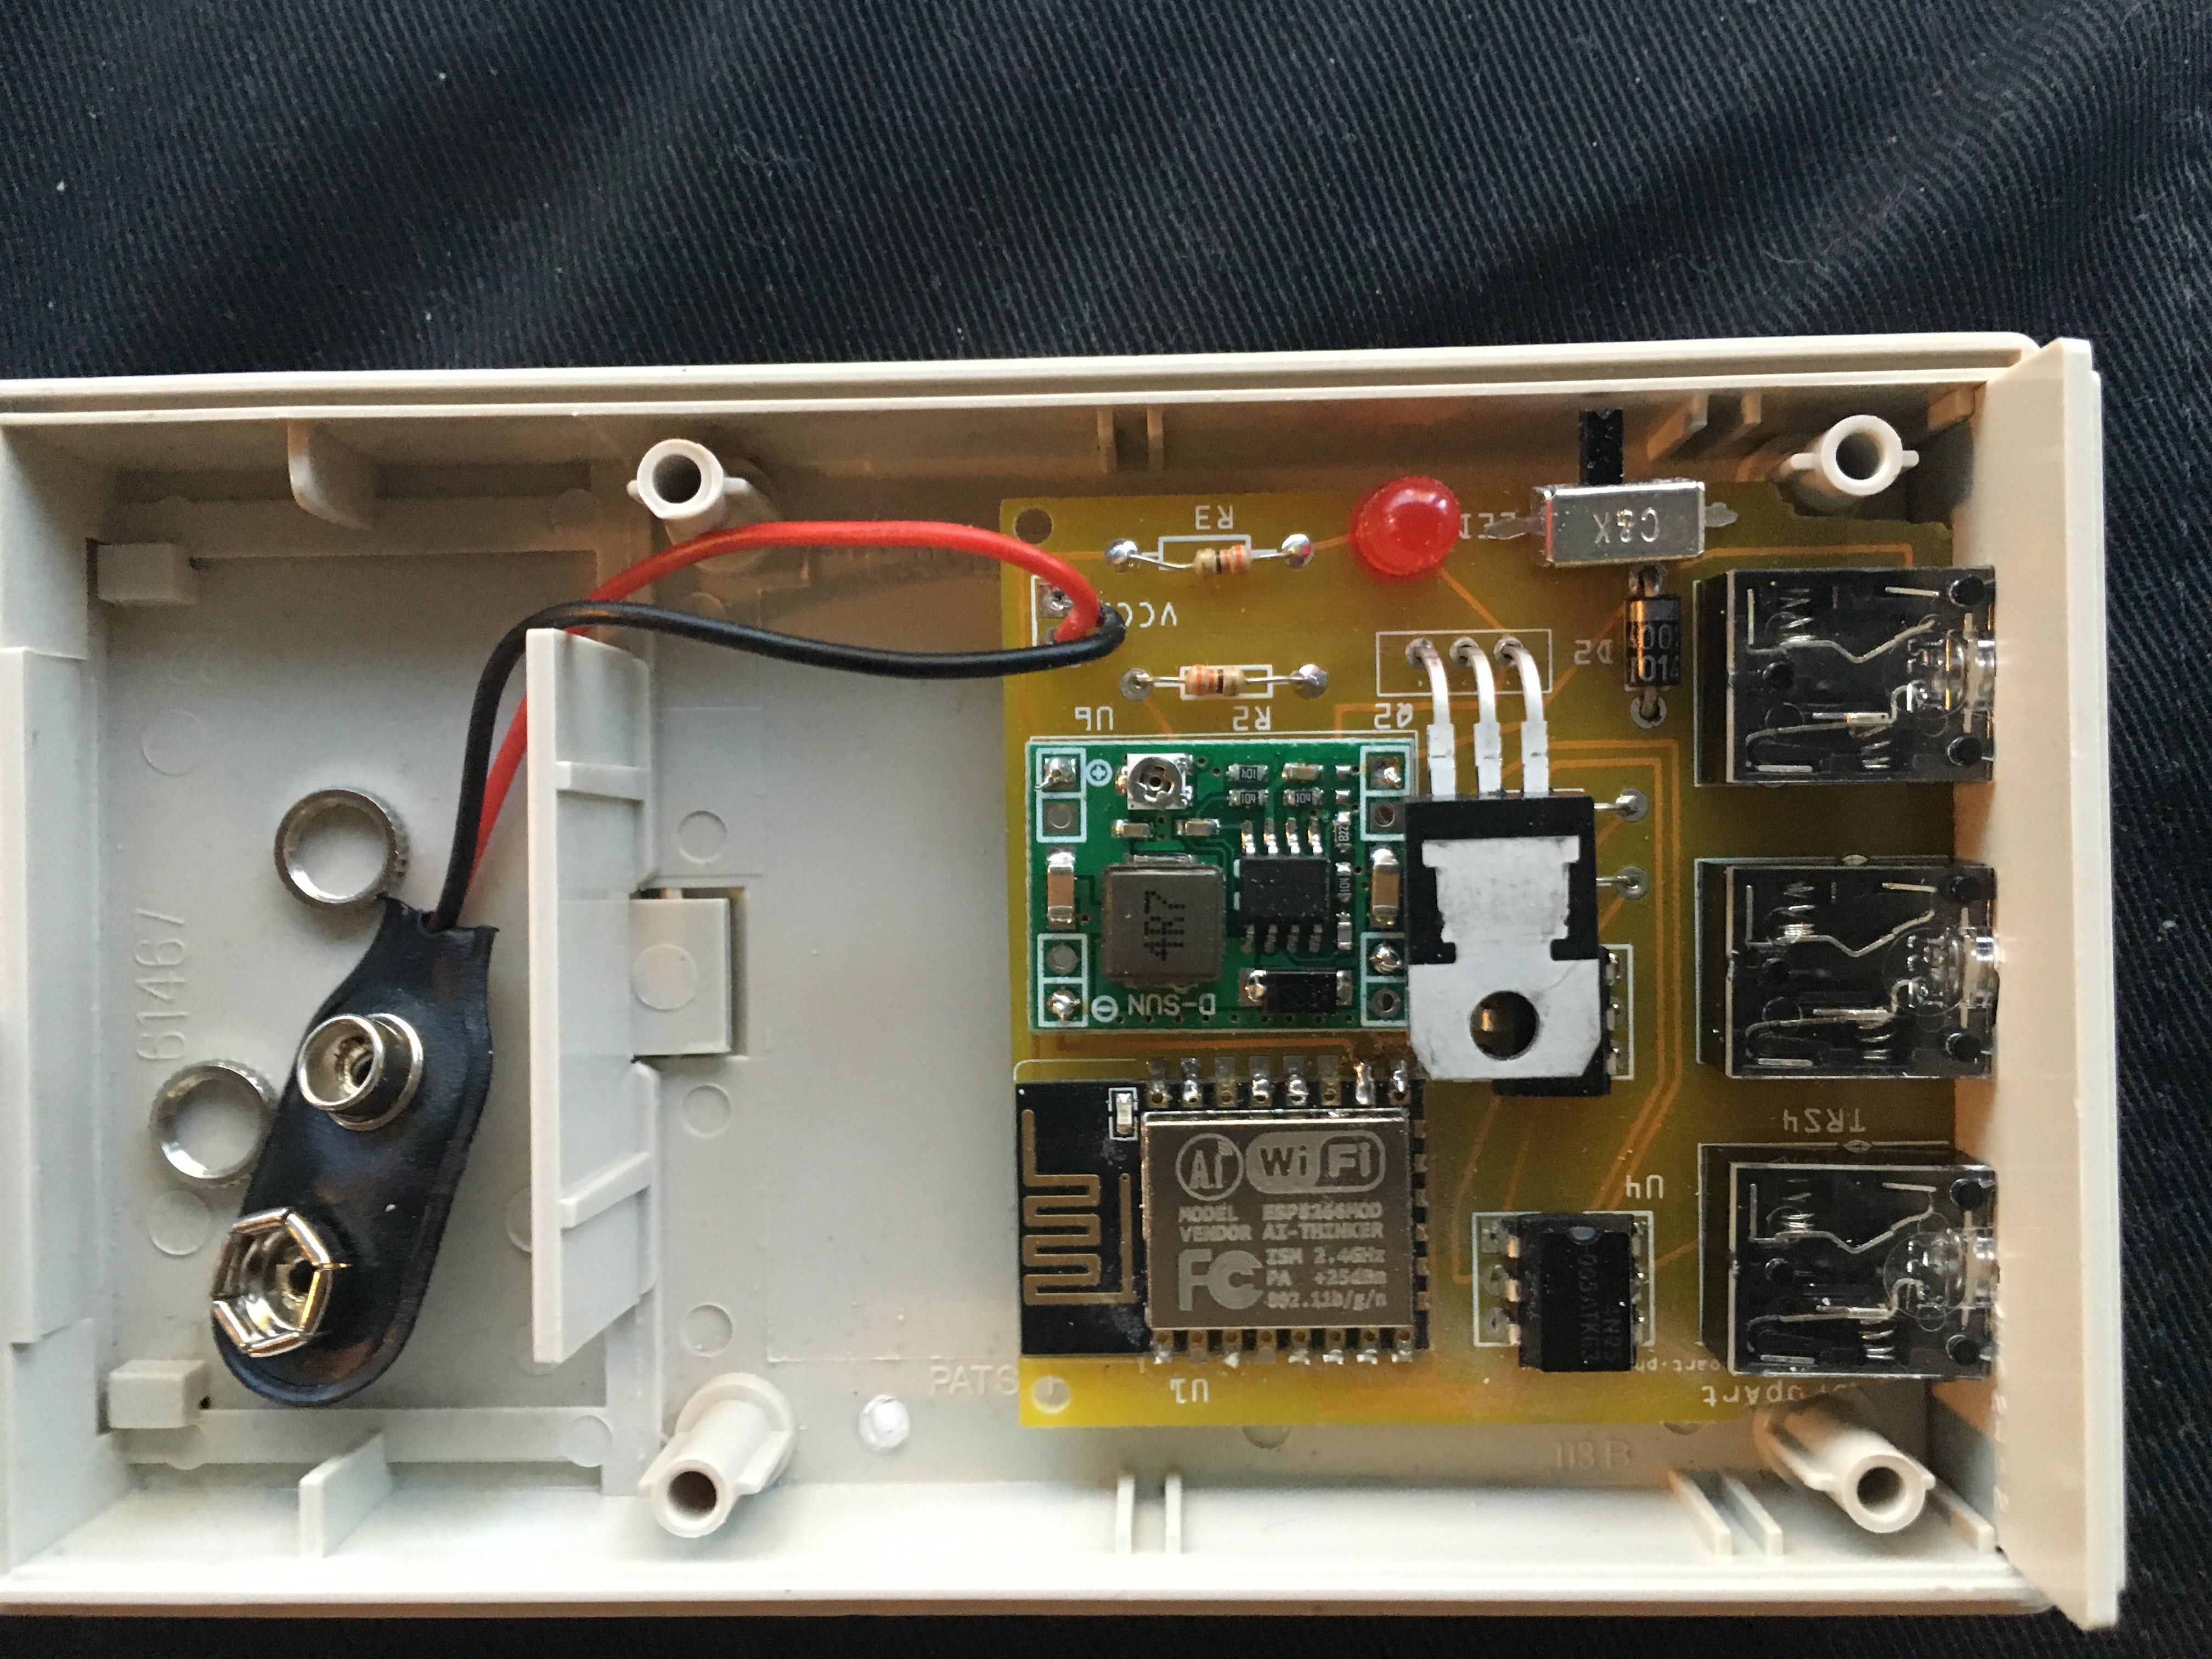
Here are some more pictures of the electronic housing.
The App
The whole system was triggered using a mobile app (iOS and Android). Here is the screen of the app showing how you can set the different drop settings.

The collisions
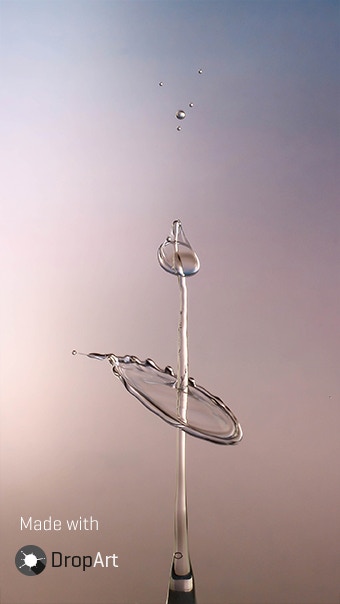
Finally, some pictures of the beautiful collisions captured using this kit.